Hero Slider
Configuring the Hero Slider
The Hero Slider is the first impression your store makes — a full-width image carousel sitting at the very top of the homepage with autoplaying slides, a heading, a subheading, and a call-to-action button. For COD stores selling visual products, this single section often drives more clicks to the catalog than every other section on the page combined. Each slide is its own configurable card, and you can add as many slides as you want; the slider automatically advances every 5 seconds, supports swipe gestures on mobile, and shows navigation dots when there is more than one slide.
Opening the Hero Slider section
Go to Yaxii COD > Settings > Homepage Layout. Find the Hero Slider card in the section list and click it to expand the slide editor. If you do not see a Hero Slider card, click Add Section at the bottom of the list and choose Hero Slider.
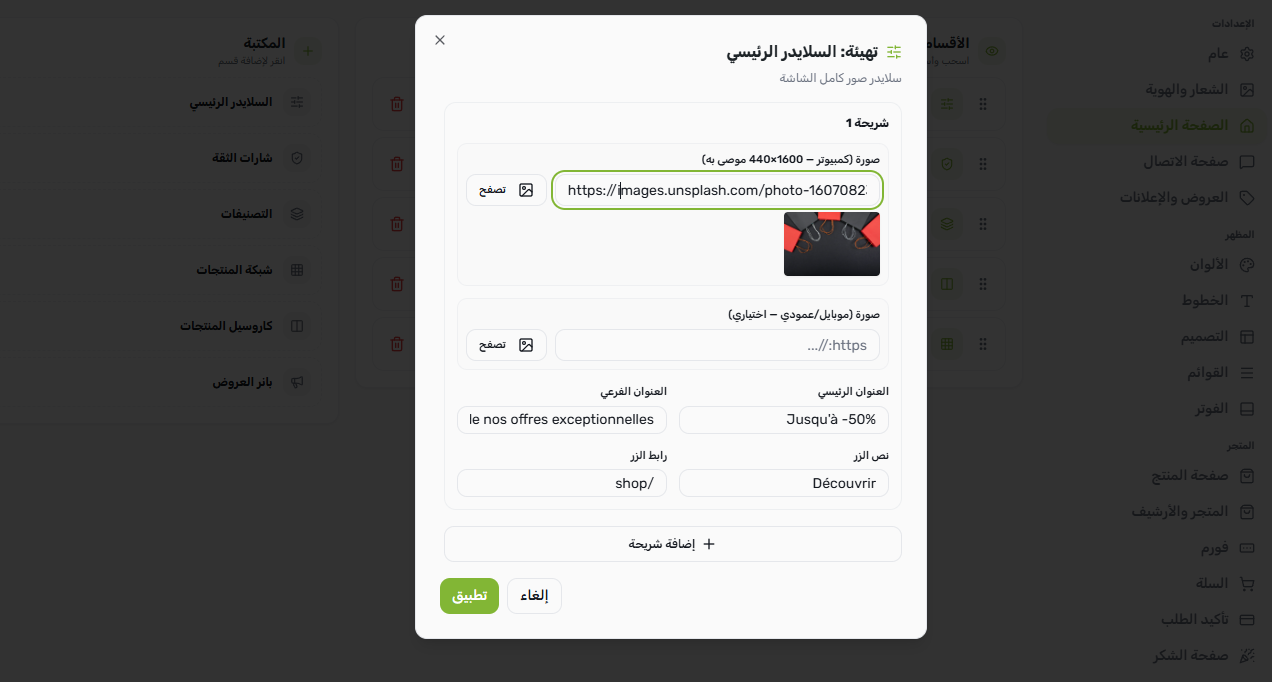
What each slide contains
| Field | What it controls | Required |
|---|---|---|
| Desktop image | The background image shown on tablets and desktops. Recommended size: 1440 × 440 pixels. | Yes |
| Mobile image | An alternate image used on phones. Optional — if left empty, the desktop image is used on mobile too. Recommended size: 800 × 600 pixels for a more square, mobile-friendly crop. | No |
| Heading | The large, bold title overlaid on the slide (for example, “Up to -50%” or “Summer Collection”). | No |
| Subheading | A shorter line below the heading, used for context or a tagline. | No |
| Button text | The label on the call-to-action button (for example, “Shop Now” or “Discover”). | No |
| Button link | The URL the button leads to — usually a category page, a featured product, or your full shop. The button only appears if both the text and link are filled in. | No |
Adding your first slide
- 1Open the Hero Slider sectionIn the Homepage Layout panel, click the Hero Slider card to expand it.
- 2Upload the desktop imageClick the desktop image uploader and choose an image from your WordPress Media Library, or upload a new one. Use a high-quality landscape image at 1440 × 440 pixels.
- 3(Optional) Upload a mobile imageIf you want a different, more square crop for phones, upload a mobile image. If you skip this, the desktop image is reused on mobile.
- 4Write the heading and subheadingType your slide title (for example, “Up to -50%”) and a short subheading underneath. Keep both lines short so they fit cleanly on small screens.
- 5Add the CTA buttonFill in the button text and the button link. Leave both empty if you want a slide without a button (the image alone will be displayed).
- 6Save SettingsClick Save Settings at the top of the panel. Your slide goes live immediately.

Adding more slides
Inside the Hero Slider card, click Add Slide to insert a new slide card below the existing one. Each slide has its own set of the six fields above. The slider auto-rotates between slides every 5 seconds. When you have two or more slides, navigation dots appear at the bottom of the slider so customers can manually jump between them.
Reordering slides
Each slide card has a drag handle. Click and hold to drag a slide above or below another to change the rotation order. The first slide in the list is the one customers see when the page loads.
Removing a slide
Click the delete icon on the slide card to remove it. If you delete every slide, the Hero Slider section disappears from the storefront entirely until you add a slide back.
What’s Next?
Your hero is set. Next, configure the Category Row so customers can jump directly into your product categories from the homepage.